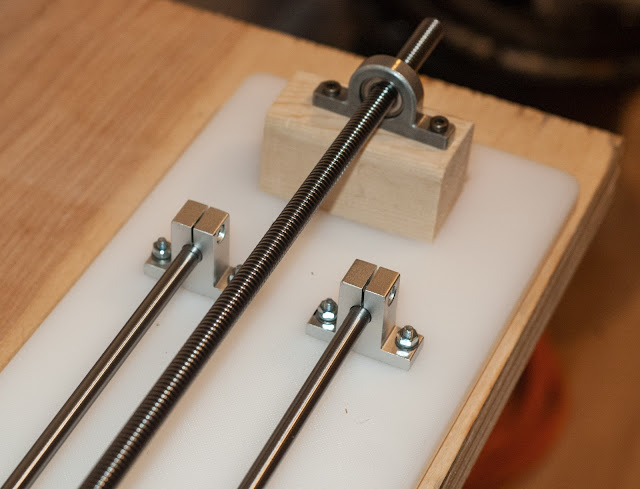
- Roton 10x2 RH trapezoidal lead screw [purchased here]
- Roton 10x2 RH flange nut [purchased here]
- 10mm base mounted bearing [purchased here]
- Stepper motor 200 steps/rev 12v [purchased here]
- NEMA17 Stepper motor mount [purchased here]
- Aluminum Flex Shaft Coupler 5mm - 10mm [purchased here]
- 8mm Linear Rail Shaft Guides x 4 [purchased here]
- 8mm Linear Bearing Platform x 2 [purchased here]
- 8mm miniature drive shafts [purchased here]
- Impact resistant polycarbonate, 90 degree [purchased here]
To drive the motor, the following code was uploaded to the Arduino board:
To my great surprise, everything worked as expected the first time the system was powered up. The unit was a little noisier than expected, but I think that may be due to a slight misalignment of the flange nut and its associated vibrations. In the future I'll try to track down a washer to install between the flange nut and plastic angle to reduce vibration and help compensate for the noise (building something a little more exact that a hunk of 2x4 wouldn't hurt either).
Next up will be to determine what to use for limit switches so that the unit can travel from end-to-end (and not just travel back-and-forth in a coded fixed length) - either a physical switch or a Hall-effect sensor are the likely final candidate. I'll also need to determine some better wire quick connects to easily connect/disconnect the electronics.


No comments:
Post a Comment