The parts used to assemble the X-Axis Carriage Belt Idler:
- 1x 3D Printed Part
- 6x 608zz skate bearings
- 2x Dowel Pins, 5/16" Diameter, 1-3/8" Long
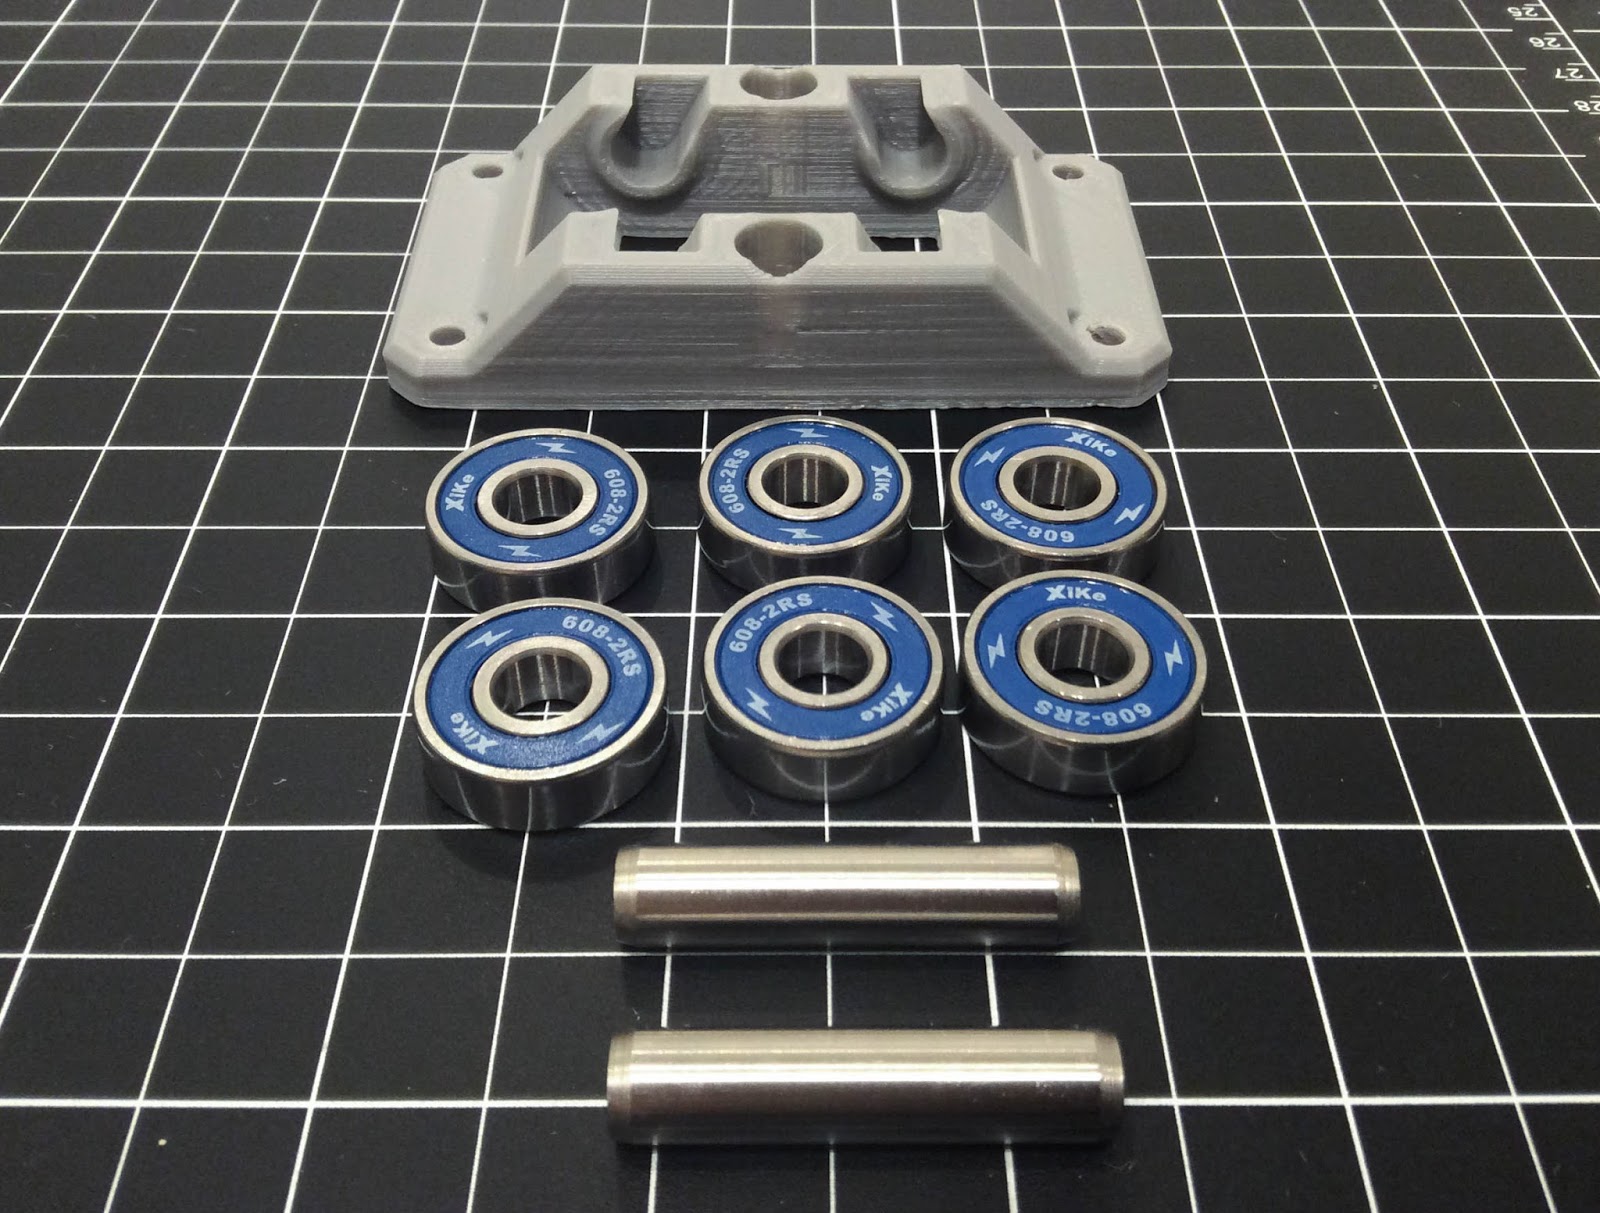
For my first iteration of this part I tried to use M8 dowel pins, and it was an unmitigated disaster. The pins were so tight that a hammer was needed to get the bearings onto the pin, and I always destroyed at least one of the bearings during the process. After some advice was given online, I retried the build using 5/16" diameter pins, which worked perfectly (no hammer required). The finished idler is seen below.

The next step was to add the top motor mount to the panel using:
- 1x 3D Printed Part
- 5x M3 x 25mm screws (0.5mm threads)
- 1x M3 x 20mm screw (0.5mm threads)
- 6x M3 washers
- 4x M3 nylon lock nuts
- 2x M3 nuts

Loctite Thread Locker (Blue 242) was used on the captive nuts (where using nylon lock nuts was not possible) to help keep the screws from coming loose:

To add the lower motor mount and idler to the panel, the following parts were used:
- 1x Idler Assembly
- 1x 3D Printed Part (motor mount)
- 5x M3 x 30mm screws (0.5mm threads)
- 1x M3 x 25mm screws (0.5mm threads)
- 6x M3 washers
- 4x M3 nylon lock nuts
- 2x M3 nuts

The assembled piece can be seen below:


No comments:
Post a Comment