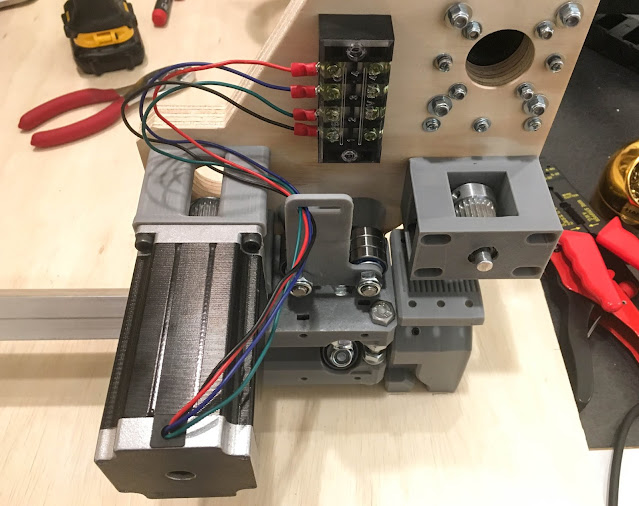
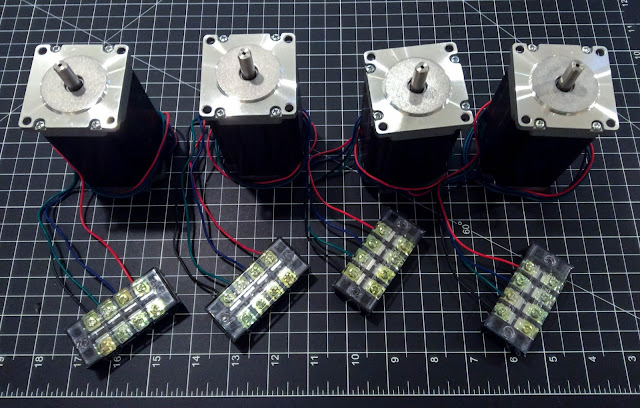
Note that in some pictures the motors have spade terminals connected to them for testing purposes, but the final solution was implemented using a screw-down terminal block.
My hobby notebook, infrequently used. This is primarily to clean off my desktop, but if someone else can make use of any of it, all the better...
Monday, July 27, 2020
Root 3 CNC (Retro) - Installing the X and Z Axis Motors
This is a retroactive post from earlier in the build process...
Root 3 CNC (Retro) - Installing the Y-Axis Belts
This is a retroactive post from earlier in the build process...
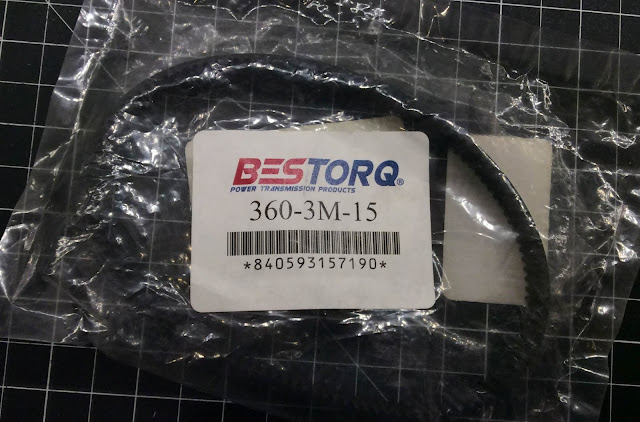
The Y-Axis Belts were installed by clamping one end then routing the belt through the assembly, then finally clamping the other end:
Root 3 CNC (Retro) - Installing the Y-Axis Motion Link
This is a retroactive post from earlier in the build process...
The Y-Axis Motion link was installed with a slight deviation from the original 3D-Printed parts for the Root 3. The original motion link mount would not work due to the type of screws used for installation:
Their footprint was too large, and hit the screws on the Y-Axis mounts. To solve the problem, a smaller version of the motion link was printed and installed:
Root 3 CNC (Retro) - Installing the Y-Axis Motors
This is a retroactive post from earlier in the build process...
The Y-Axis Motors (Y1 & Y2) were installed and connected to screw-down terminals to allow for easy replacement.
Thursday, July 23, 2020
Root 3 CNC (Retro) - Installing the Y-Axis Mounts
This is a retroactive post from earlier in the build process...
It is critical that the Y-Axis bars/mounts be installed correctly (parallel). A small template was 3D printed to assist with marking the plywood, it can be found here. Four holes were drilled in the plywood per mount. The screws were then installed through the plywood and into the captive nuts within the Y-Axis mounts.
Root 3 CNC (Retro) - Belt Pitch Settings
This is a retroactive post from earlier in the build process...
To determine the starting point setting for the belts and lead screw, the RepRap Calculator was used:
These initial values were placed into the Marlin configuration (X, Y1, Z, Y2):
To fine-tune the calibration, see the post here.
Root 3 CNC (Retro) - Motors
This is a retroactive post from earlier in the build process...
The motors used for this project are found here Nema 23 Bipolar 1.8deg 2.4Nm (340oz.in) 1.8A 4.95V. The screw terminals are found on Amazon. The wire used was WesBell PVC Shielded Cable 4C 22AWG (CAROL-C0762).
Subscribe to:
Comments (Atom)


